
A multimeter is an essential tool for anyone working with electrical systems, from hobbyists to professional electricians. Major Tech, a well-known brand in the field of electrical testing equipment, offers reliable and accurate multimeters. This guide will walk you through the basic steps on how to use a Major Tech multimeter effectively.
Understanding Your Major Tech Multimeter
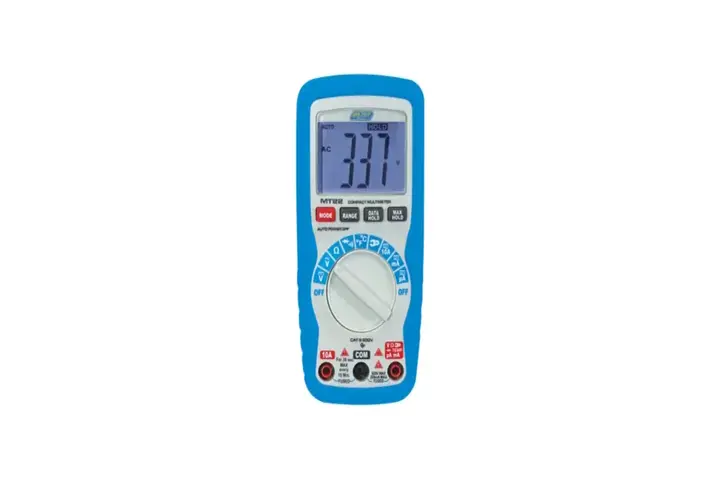
Before diving into its usage, it’s important to familiarize yourself with the main parts of a Major Tech multimeter:
Display Screen: Shows the measurement readings.
Dial/Rotary Switch: Allows you to select the measurement type (voltage, current, resistance, etc.).
Probes: Red (positive) and black (negative) probes are used to make contact with the circuit.
Ports: Usually, there are three ports: COM (common), VΩ (for voltage and resistance), and A (for current).
Safety Precautions
Always Start with the Multimeter Turned off. This ensures that you don’t accidentally damage the multimeter or the circuit.
Check the Multimeter and Probes for damage. Ensure there are no cracks or exposed wires.
Understand the Circuit You Are Testing: Knowing the expected range of voltage, current, or resistance can prevent accidents.
Steps to Measure Voltage
Turn the Dial to Voltage (V): Choose either AC (alternating current) or DC (direct current), depending on your circuit.
Insert the Probes: Connect the black probe to the COM port and the red probe to the VΩ port.
Connect the Probes to the Circuit:
For DC Voltage: Connect the black probe to the ground or negative point, and the red probe to the positive point.
For AC Voltage: Connect the probes across the two points where you want to measure the voltage.
Read the Measurement: The display will show the voltage reading.
Steps to Measure Current
Turn the Dial to Current (A): Select the appropriate current range.
Insert the Probes: Connect the black probe to the COM port and the red probe to the A port.
Break the Circuit: To measure current, you need to connect the multimeter in series with the circuit.
Connect the Probes: Connect the probes to the two points where the circuit was broken.
Read the Measurement: The display will show the current reading.
Steps to Measure Resistance
Turn the Dial to Resistance (Ω):
Insert the Probes: Connect the black probe to the COM port and the red probe to the VΩ port.
Connect the Probes to the component. Ensure the component is isolated from any power source.
Read the Measurement: The display will show the resistance reading.
Additional Functions
Many Major Tech multimeters come with additional functions, such as:
Continuity Test: Indicates if a circuit is complete by emitting a sound.
Diode Test: Measures the forward voltage drop of a diode.
Capacitance Measurement: Measures the capacitance of capacitors.
Tips for Accurate Measurements
Zero Out the Multimeter: For resistance measurements, touch the probes together and ensure the reading is zero.
Use the Correct Range: Start with the highest range and work down to prevent damaging the multimeter.
Stable Contact: Ensure the probes are making stable contact with the circuit components.
Conclusion
Using a Major Tech multimeter is straightforward once you understand the basics. Always prioritize safety by understanding the circuit and following proper procedures. With practice, you’ll find that this versatile tool is indispensable for diagnosing and troubleshooting electrical issues.